
Before you start
You need three things:
- an ARDOIZA account with a plan that includes the plugins (Basic or Pro);
- administrator access to your WordPress website;
- five minutes.
1. Download the plugins
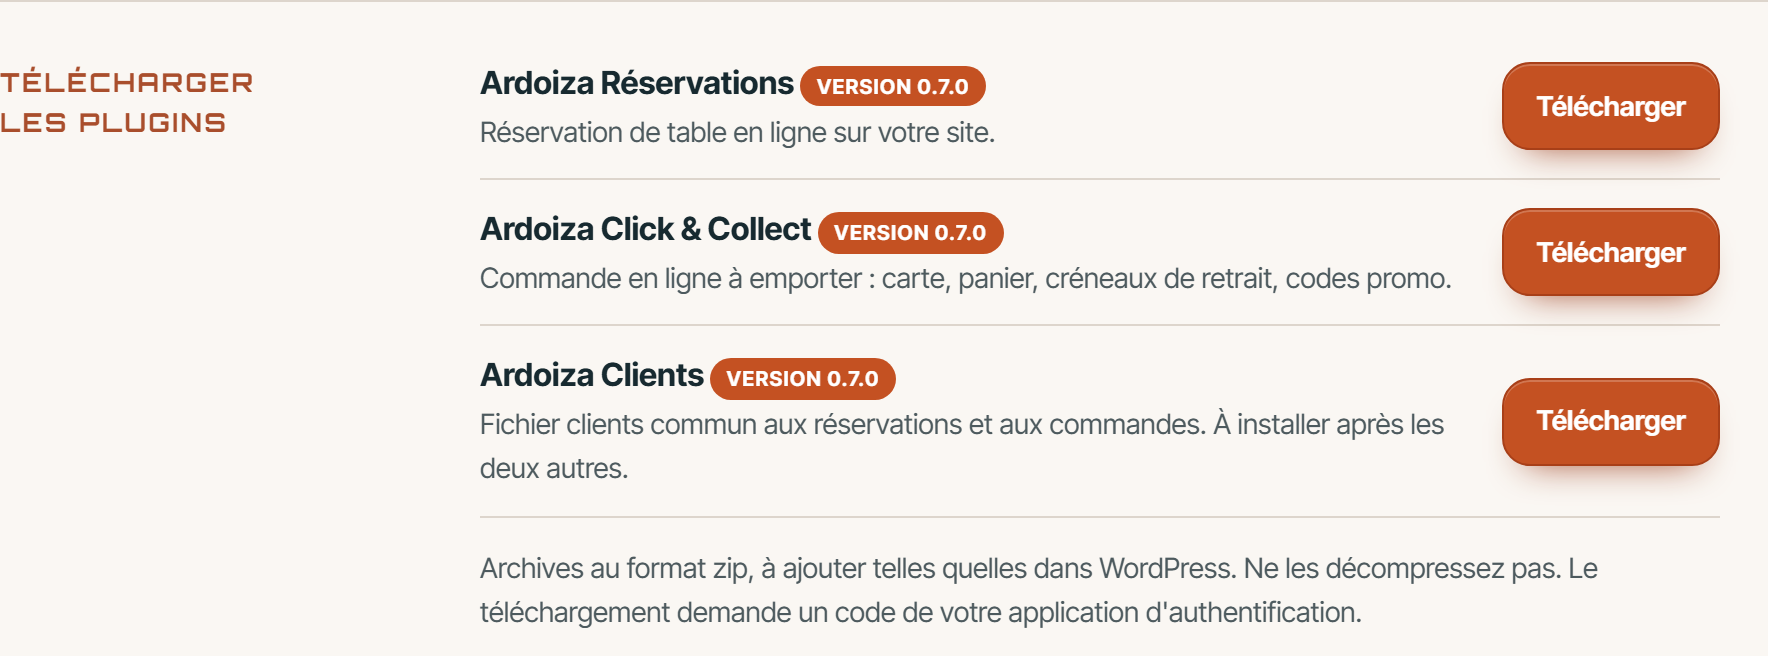
Open the Licence and plugin section of your customer area. Scroll down to “Download the plugins”.
Three plugins are available. You will install them in this order:
- Ardoiza Bookings: table booking.
- Ardoiza Customers: your customer list.
- Ardoiza Orders: takeaway ordering, listed as Ardoiza Click & Collect in your customer area. Install it last: this is the one that opens the setup assistant.
Click “Download” for each one. If you are asked for a code from your authenticator app, enter it. Keep the zip files as they are: do not unzip them.
2. Add them to WordPress
In your website's dashboard, open “Plugins”, then “Add New Plugin”. Click “Upload Plugin”.
Choose a zip file, then click “Install Now”. Do the same for each plugin, in the order of step 1.
3. Activate the plugins
When a plugin has finished installing, click “Activate Plugin”. Activate them one by one, in this order: Ardoiza Bookings, Ardoiza Customers, then Ardoiza Orders last.
When Ardoiza Orders is activated, the setup assistant opens by itself. You can find it again later in the “Ardoiza Orders” menu, under “Setup”. As Ardoiza Bookings is already active, the setup assistant also offers the booking page.
4. Paste your key
Your key is in the “ARDOIZA: To forward to the person who looks after your website” email, if you received it. Otherwise, go back to your customer area, in the Licence and plugin section. Click “Reveal my key”, enter the code requested, then click “Copy”. The key stays on screen for one minute.
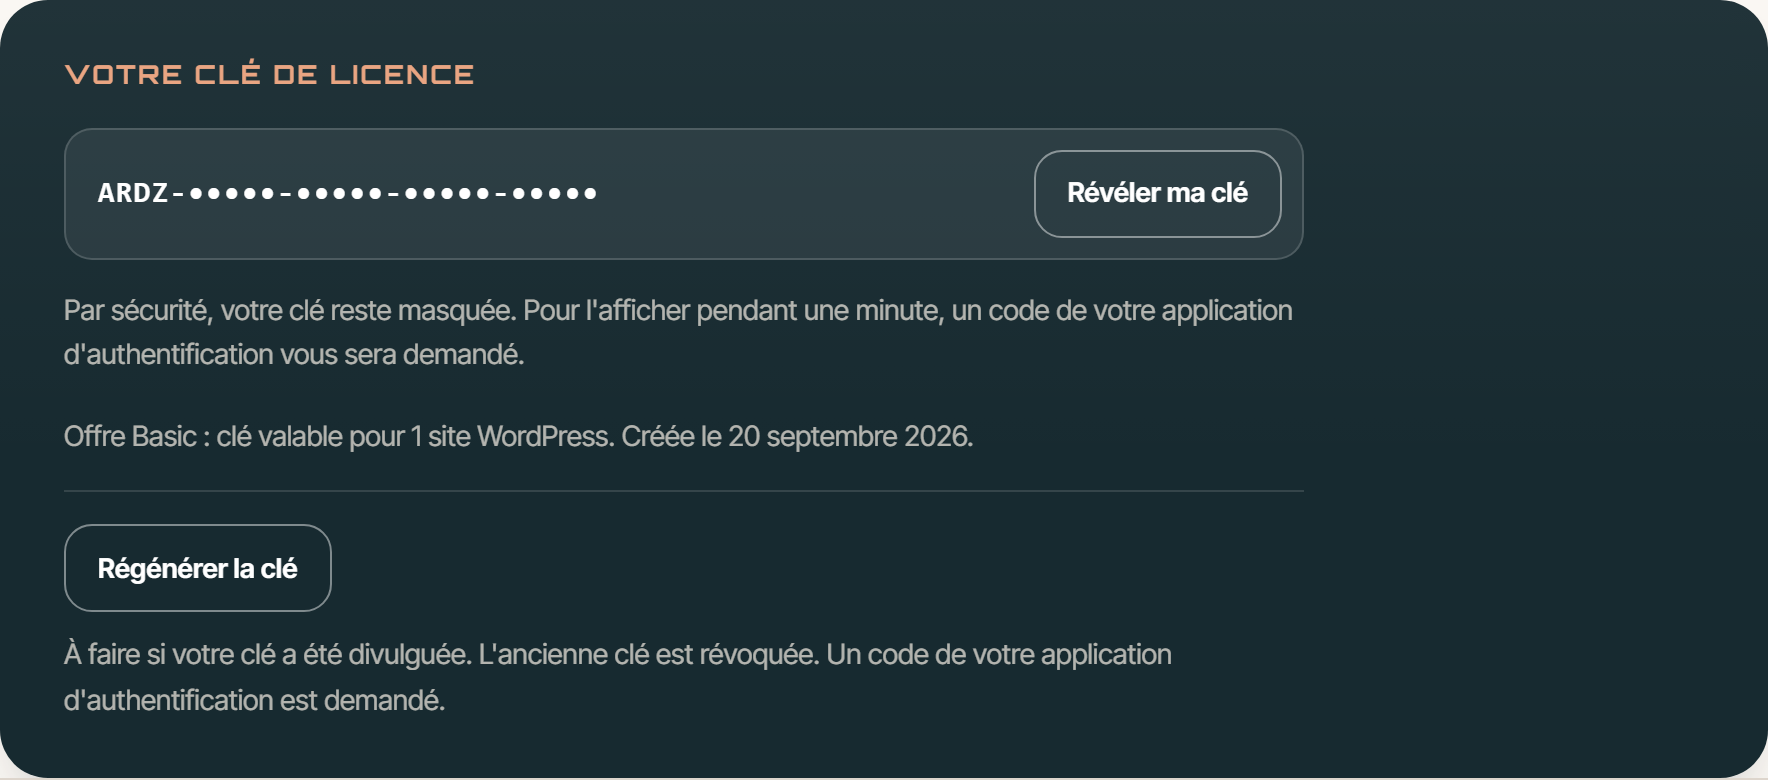
In the setup assistant, at the “Your key” step, paste the key. It looks like ARDZ-XXXXX-XXXXX-XXXXX-XXXXX. Click “Check my key”.
If another ARDOIZA plugin on the website already has a valid key, this step is skipped.
5. Let the setup assistant do the work
The setup assistant has six steps: “Your key”, “Your previous system”, “What we bring across”, “Import”, “Your pages” and “All set”.
Coming from GloriaFood? The setup assistant finds your account by itself and brings your menu across. Everything is explained on the Coming from GloriaFood page.
Not coming from GloriaFood? At the “Your previous system” step, click “I did not use GloriaFood”. You go straight to your pages.
6. Check your pages
At the “Your pages” step, the setup assistant checks whether your website has an Order page, a Menu page and a Book a table page.
- A page that is already there is kept as it is.
- A missing page is suggested, with its box ticked. Click “Create the ticked pages”.
- Tick “Add the new pages to my site menu” if you wish.
Nothing is changed unless a box is ticked.
7. All set
The last step gives you three links: “View my menu”, “Place a test order” and “Set my opening hours”.
Place a test order straight away. That way you check the menu, the time slots and the email you receive.
Next steps
- If you did not bring a GloriaFood menu across, enter your menu in “Ardoiza Orders”: Categories, Options, then Products. For each dish, allergens are compulsory.
- Set your opening hours and time slots: see the Setting your opening hours, time slots and promotions page.
- Your website appears in Licence and plugin, in the “Activated websites” list, a few minutes after the key has been checked.